How to use the command Dialog - Settings
In the CreateInstall installer there is the command Dialog - Settings, which allows you to place various elements of control in the dialog window: comboboxes, checkboxes, radiobuttons, images, buttons, links, texts, edit fields and choice of directories. Because there are too many elements, in our project we will use only two such dialog windows, where we will try to use practically all accessible dialog elements.
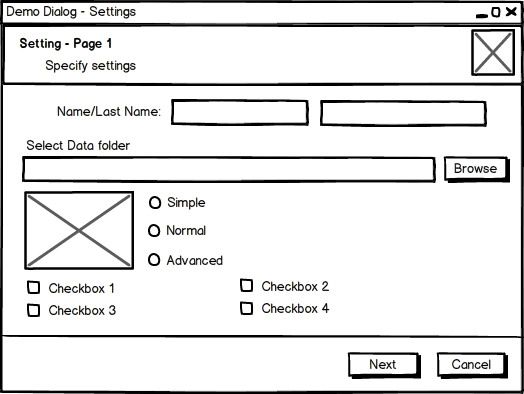
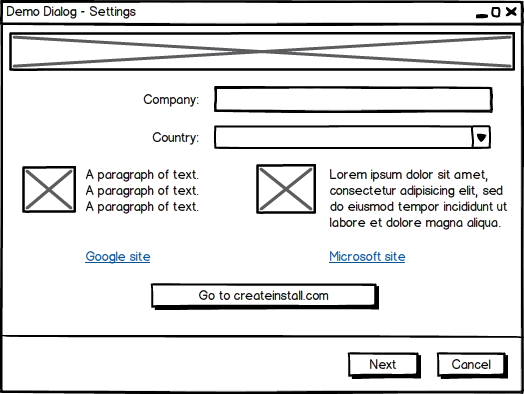
First we make drafts of the appearance of the dialog windows.

Page 1

Page 2
Now we create a project in the CreateInstall installer and in the beginning enter the command Dialog – Settings. Further, we will just add elements one by one, top to bottom, as they were arranged in our draft. We will not handle each line in the list of elements in detail, as only those capabilities and parameters, which are described in the documentation, are used there. We will only look at a couple of moments in more detail.
Every control has a variable attached to it. Upon displaying the dialog, the elements display the current value corresponding to the variable. For example, the field Edit displays the current value of the variable, while checkboxes and radiobuttons will be checked if their variable is equal to 1. Thus, we can set the initial values in our dialog window. For that, we enter the command “Set variables” in the beginning of the script and assign the initial value with the variables used. The initial values are assigned one time. Because the current values are noted in the corresponding variables upon moving to the next window, upon return to the dialog the latest parameters the user indicated will be displayed.
The second moment, which we will look at in more detail, is the use of images. We used 4 pictures for our two dialog windows and copied them into the subdirectory how-to-use-dialog-settings with the file of the project. Now we will add the command Temporary Files and specify there $prjpath$\how-to-use-dialog-settings\*.*. You can also specify every file separately. Now, during the installation, all our pictures are will be unpacked into the temporary directory #tempinstpath# and we can specify their names, for example #tempinstpath#/left.gif, in the pictures properties. All temporary files are automatically deleted after completion or termination of the installation.
Similarly, we place the elements we need in the second dialog window. The draft shows that the second dialog window lacks the standard header. To realize this in the project, you need to assign a value of 1 to the variable Shideheader in Additional settings.
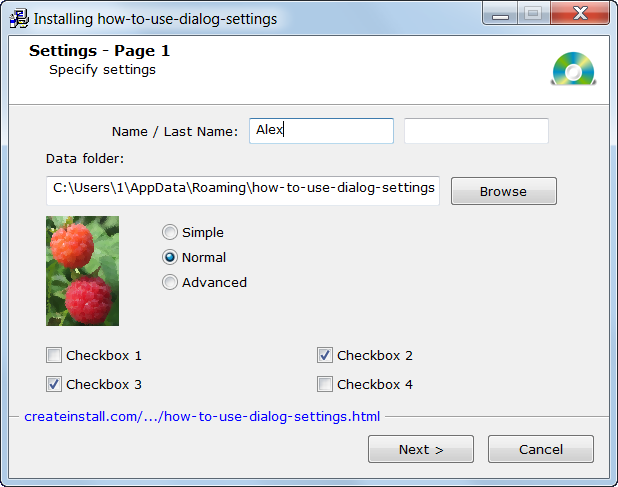
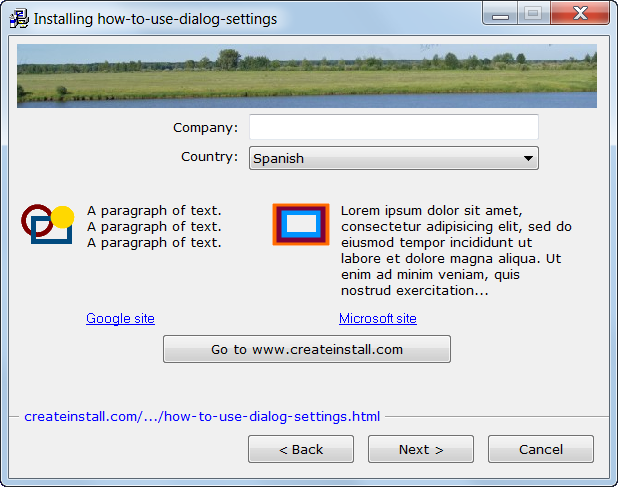
Our project is ready. When you launch the given example, the dialog windows defined by us should have approximately the same appearance.

Dialog 1

Dialog 2
You can use variables, defined for controls in different commands of your installation. We, for example, will display some values in the next dialog window Greetings. You can go back, change the parameters and you will see new values in this window.
![]() Download the example project how-to-use-dialog-settings.ci
Download the example project how-to-use-dialog-settings.ci
